Creating instalment plans in Ignition

You can easily create and offer instalment plans to your clients with Ignition. This can help increase close deals for your clients who can't afford to pay the full price upfront, or for any existing customers that want to switch over to an instalment plan at some point during their engagement.
In this article, we'll walk you through the steps to create instalment plans using Ignition.
How to create an instalment plan
Before you jump into Ignition and create a plan, you’ll need to determine what amount you would like to turn into instalments and for how long. We strongly recommend communicating with your customer to identify this amount and what is feasible for them.
Once you’re ready, create a new proposal and follow the steps below:
General step
Select your client and choose a proposal name. We suggest specifying that this is an instalment plan proposal within the proposal name. e.g. Accounting Services (Payment plan)
Select On acceptance as the proposal start date.Services step
Here you can either create a new service called Instalment plan or Payment plan. Or, you can simple just add the service(s) that you wish to transform into an instalment plan.
Next, change the billing rule to whatever cadence that you and your client have agreed upon (e.g. Monthly, over 12 months). Remember to also include an End to the billing after however many times that’s relevant.
For example, if a $12,000 service were to be split up into monthly amounts, we would choose to end billing after 12 times.
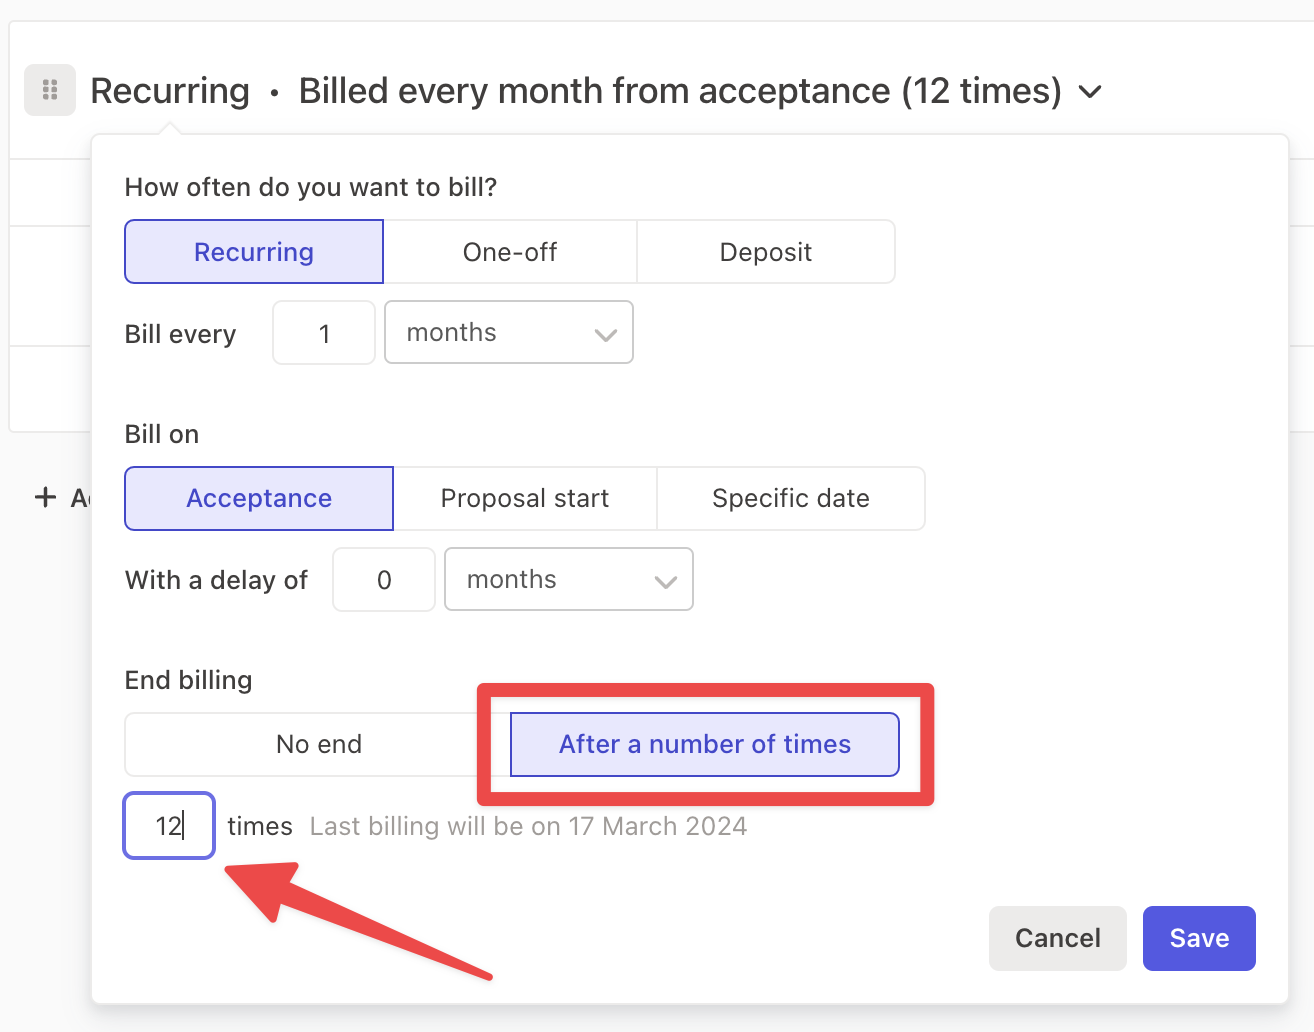
Then, change the price of the service to make sure it adds up to the total amount. In the example of $12,000 over 12 months, this would mean changing the price of the service to $1000.
We strongly suggest setting your service to be billed automatically as you won’t need to worry about chasing payments, but you can change this to be billed manually and provide your clients an invoice and link to pay via our Review + Pay process instead.
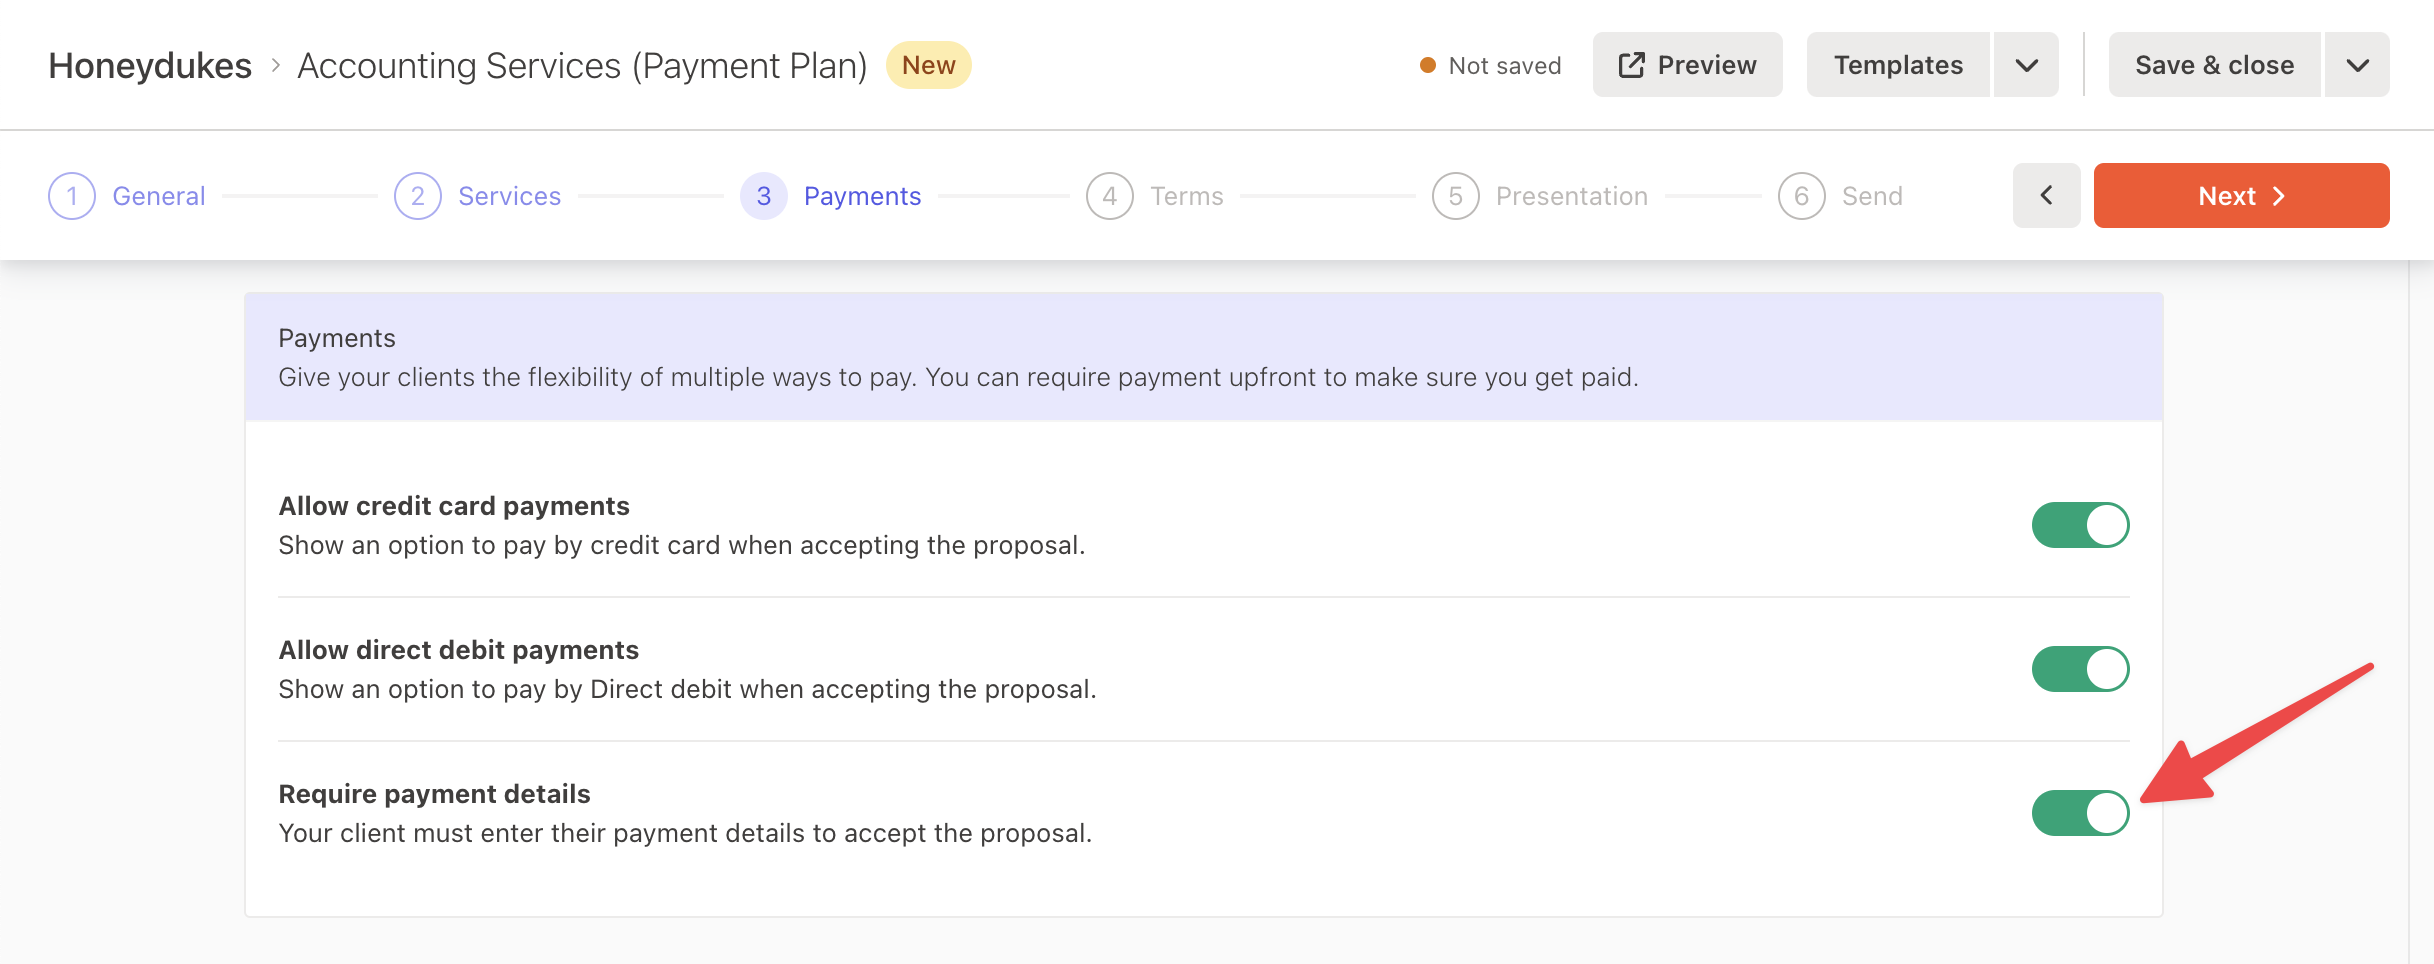
Payments step
If you are using Ignition payments, we strongly suggest that you turn on the Require payment details toggle.
This ensures that monthly payments will be automatically collected from your client, removing the worry of collecting for this instalment plan.
Terms step
Your current default standard terms template should suffice as long as you have a billing & payment section that covers the legalities.
Alternatively you can use our industry standard engagement terms template already included in your account.
Give this a quick review and move onto the next step.
Presentation step
To keep this article short, we won’t explore the Presentation tab in full detail. Please see this article here for more information.
However, you can add create or select an Intro message template. add a brochure or a video to attach to your proposal to make it personal and professional.
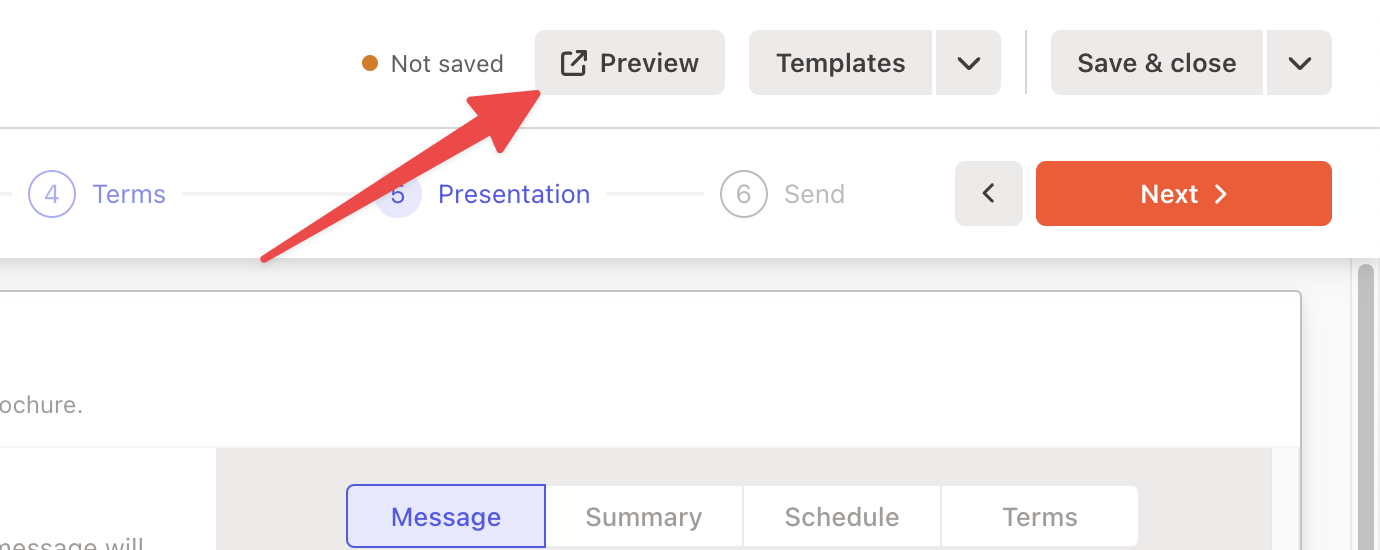
We also recommend previewing the proposal as your client to ensure that all the details are correct.
Send step
You can now send the proposal to your client and wait for it to be accepted.
After the proposal is accepted

If you ever need to make changes to your client’s billing schedule, you can always edit the billing items. Some scenarios include delaying an invoice, combining two invoices, re-scheduling an invoice…etc.